10 Wedding Planning Lessons From My Own Wedding
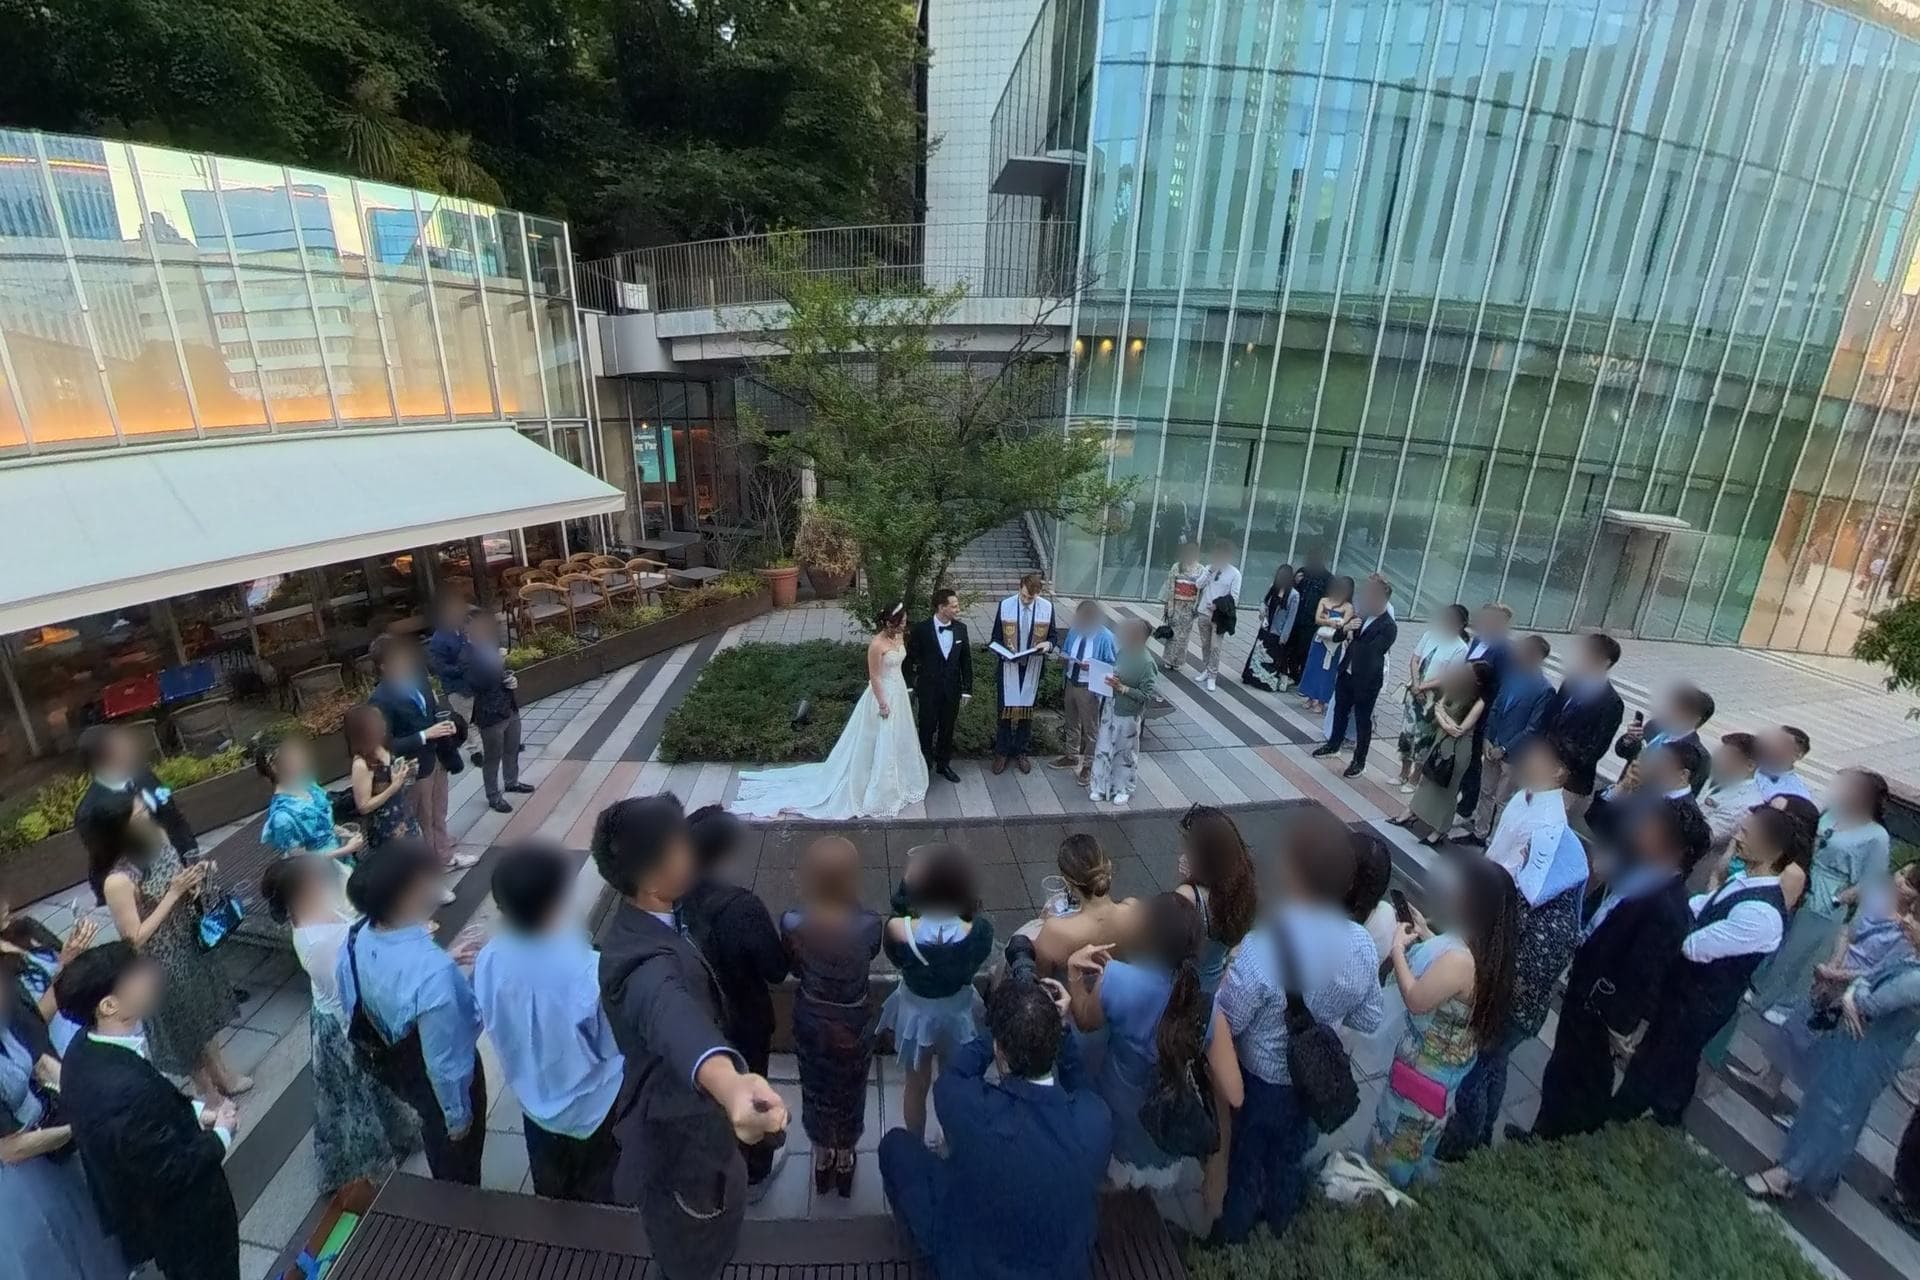
I spend most of my days building a wedding planning app, so you'd think our own wedding party would have gone exactly to plan. It didn't. A lot of it went really well, some of it went sideways, and a few things I'd do differently if we did it again.
We celebrated in an Italian restaurant in Tokyo that we booked out completely, with around 60 guests, many of them from abroad.
It wasn't a typical Japanese wedding. We wanted a more Western-style party that we could plan the way we imagined it, not a standard package with a fixed schedule that runs like a factory line, and not ridiculously overpriced vendors. That freedom meant we organized most things ourselves, and that's where most of these lessons come from.
And yes, we planned the whole thing in Weddy. We also used its save-the-date feature to share the date with our guests and collect their RSVPs.
Here's what I learned, roughly in the order you'll run into it while planning.
1. Get the venue in writing, and taste the food first
A few months before the party, our first venue stopped answering. We only had a verbal agreement, and the moment we asked to put it on paper, nobody was reachable anymore. So we started searching again, with a lot less time and a lot more stress.
We got lucky. We found a cozy Italian restaurant in a good area of Tokyo, with plenty of bars nearby for the after party. Before signing, we went there to eat, and the food was great. With guests coming from all over the world, that mattered to us. We stayed away from dishes people might not be used to, so everyone would find something they enjoyed.
What I'd take from it:
- A verbal yes is not a booking. Ask for a written confirmation early, while you still have time to walk away.
- Eat there before you commit. If you can't, ask for a tasting.
- Check what the venue doesn't have. Ours had no changing room.
That last one turned into my favorite story of the day. We bought a pop-up changing tent on Amazon so my wife could switch outfits during the party. After the party we packed it up carefully, took it along to the after party, and lost it somewhere along the way. We were a bit drunk, didn't miss it, and only noticed it was gone a few weeks later.
2. Look for the hidden costs
The price on the venue's website was lower than what we paid. During booking, extra fees slowly started to appear, one line at a time. Plan for some buffer on top of whatever price you're quoted.
There are also costs that don't come from the venue. Our guests paid a fixed amount at reception, but we let our helpers in for free: the friends who ran the games, looked after the reception desk and played DJ. That's the least you can do for people who give up part of their evening for you, but it's still money you need to plan for. We didn't book any musicians or performers, so we had no tips to pay. If you do, add those too.
3. More guests can actually save you money
This one surprised me. It depends a lot on your country and your venue, but ours charged a base fee plus a fee per guest that covered the food. We rounded the per-guest amount up a little and asked guests to bring that amount to the reception.
If you're not from Japan, that last part might sound odd. Many wedding parties here are "kaihi-sei", which means fee-based: instead of giving a cash gift, every guest pays a fixed fee at the reception desk, and the couple sets that amount in advance. It's a common format for more casual parties like ours.
With about 60 people, the small extra per guest added up. It covered a big part of the base costs for the venue and the staff, and in the end we only had a small bill left to pay ourselves. If your venue charges the same way, run the numbers before you cut the guest list. Our wedding budget calculator is a good place to start.
4. Cheaper means more work for you
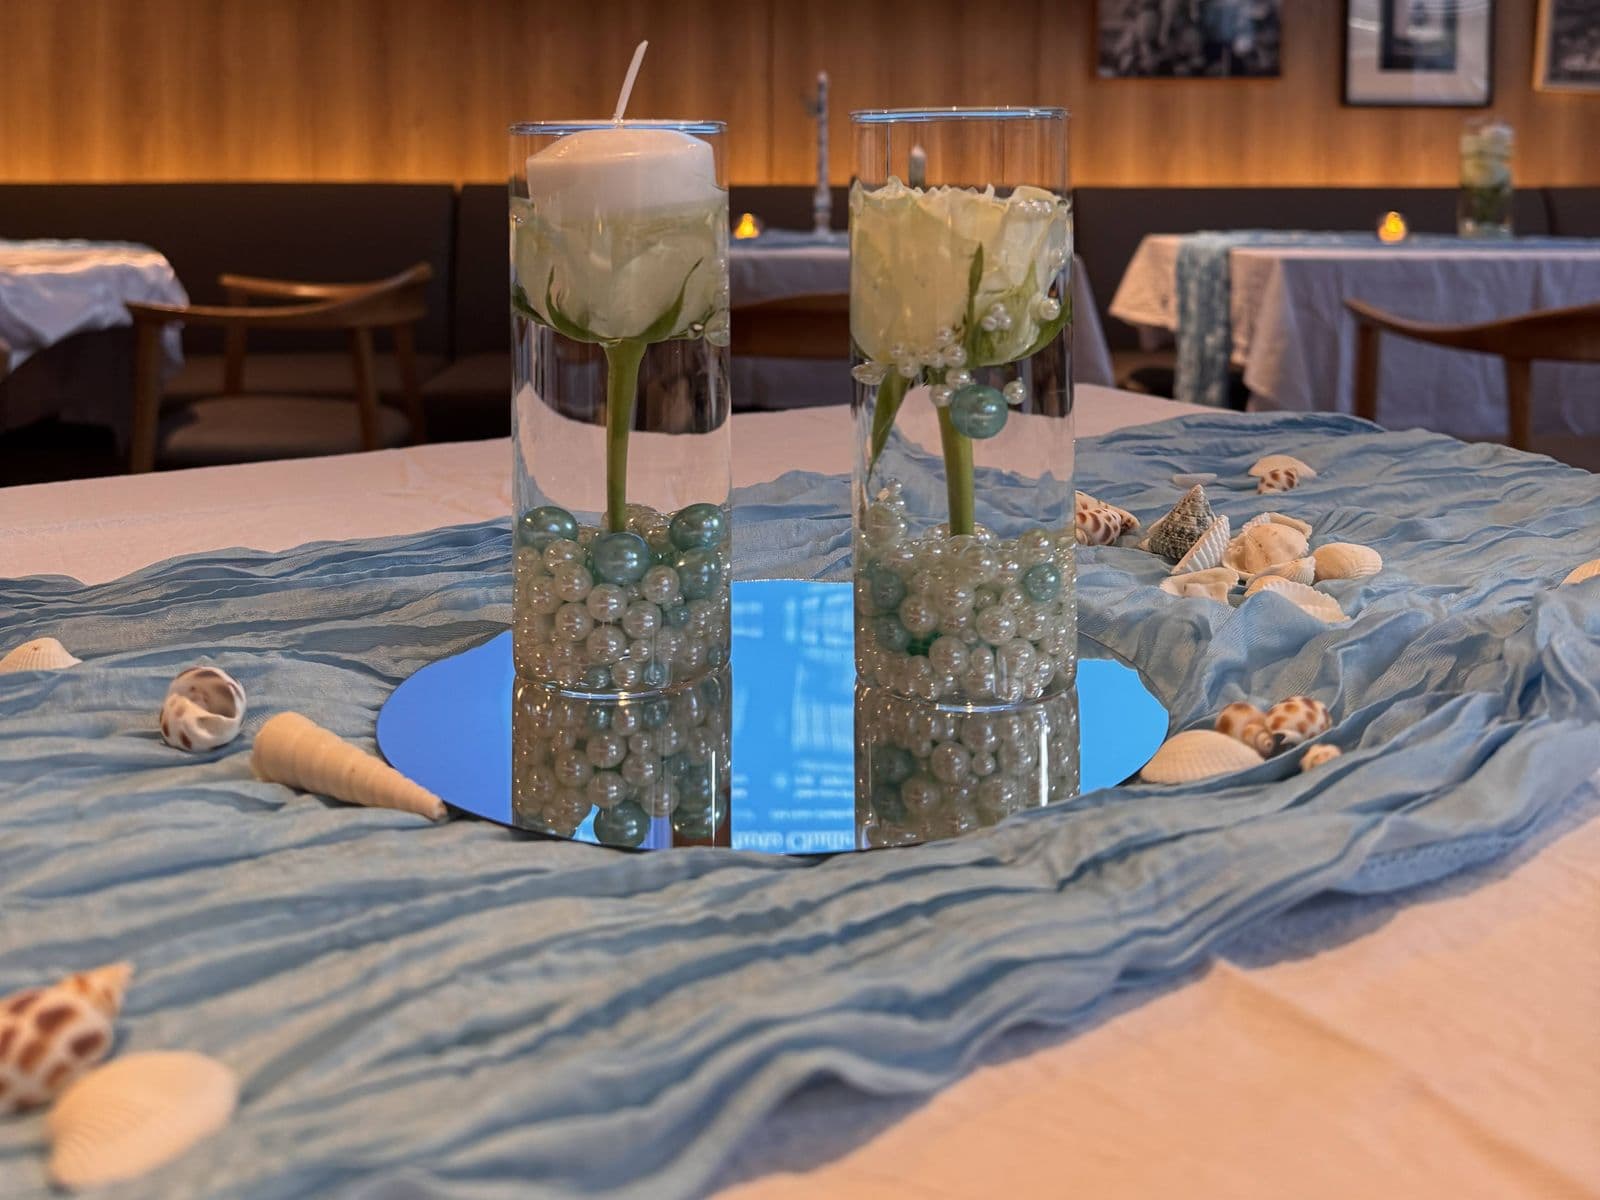
We did most of the decorations ourselves. The table covers came from a cheap online shop, and we went through 100-yen shops looking for anything we could turn into decoration. We found tall glass vases, filled them with water and pearls, put a flower inside and floated a candle on top. Add a few seashells on a blue table runner and you have an ocean-themed table for very little money.
We also bought cheap wooden letters to spell out our names. Our theme was the ocean, so we primed them, painted them in several shades of blue, and then added white paint and blew it into little waves with a drinking straw.


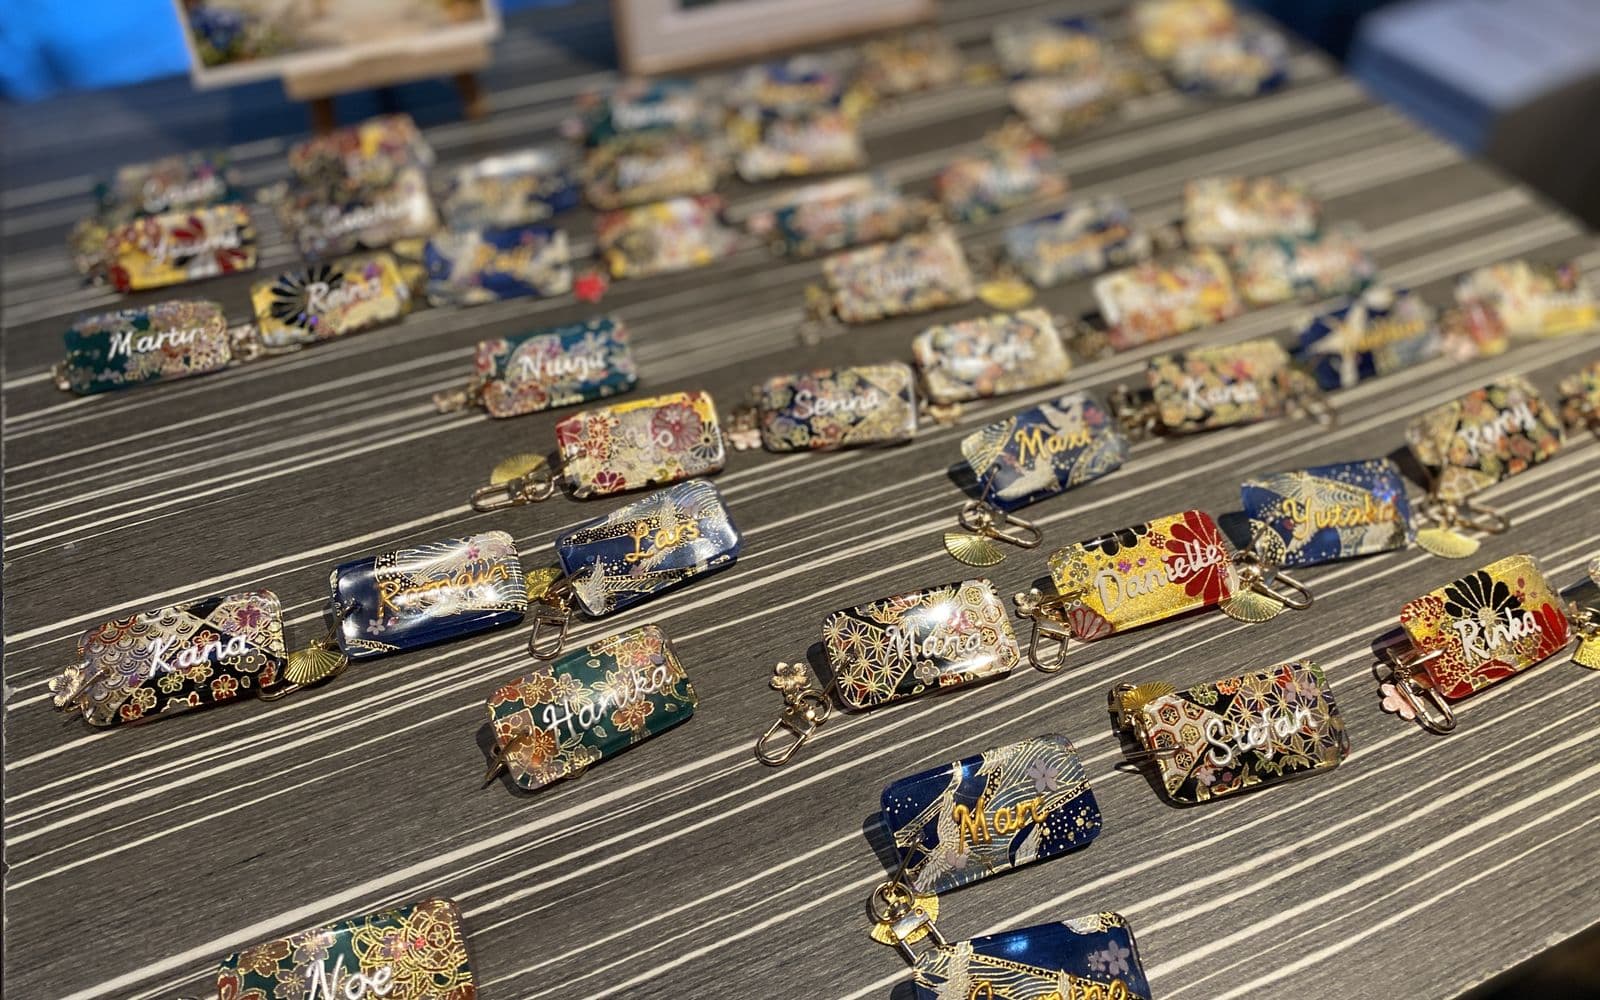
My wife also made a name tag by hand for every guest, and each one is unique. She used high-quality Japanese paper with traditional Japanese patterns. It took us weeks to decide on the patterns, pick colors with enough contrast for the names to stand out, and put it all together. The name tags were also a thank-you present for coming: each has a small clasp, so guests can attach it to a bag or something else afterwards.
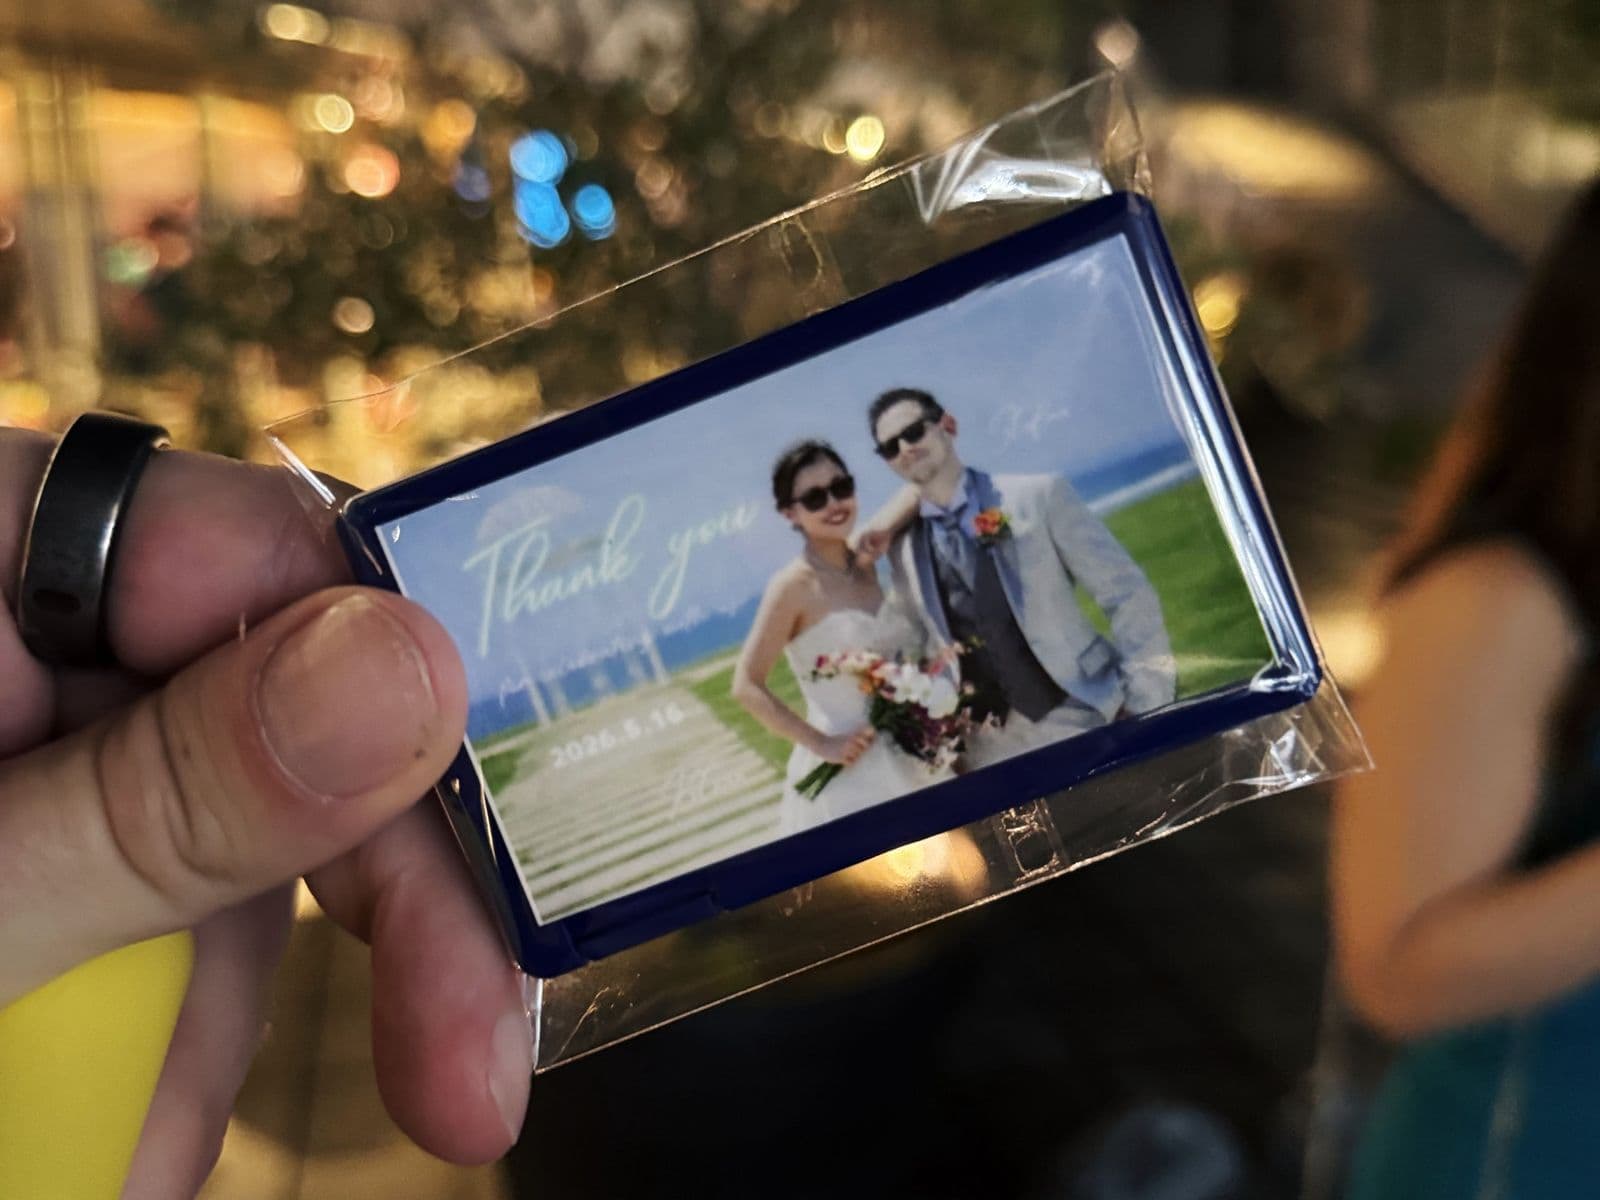
She also prepared a second small gift. We bought a pack of mints for each of them and stuck a photo of the two of us with a thank-you message on it, so everyone went home with a little photo from us to keep.
I like how it all turned out. But all of it took time. DIY saves money by spending your time instead, and if you're not careful it turns into a second job right when you have the least time to spare. Pick the few projects you'll enjoy, and buy or skip the rest.
5. Show guests what the dress code looks like
We told everyone the theme, ocean, several weeks ahead so they had time to sort out their outfits. We thought we'd picked something simple that most people already own, or could easily find.
We were wrong about the simple part. People kept messaging us to ask whether this shirt or that dress would be okay. So I made a second info flyer with pictures of people dressed the way we imagined. I generated the images with ChatGPT, which was quick to do. Our guests were really happy about it, because finally they had a picture in their head instead of a word.

If your dress code is anything more specific than "smart casual", show examples. A few pictures answer more questions than a paragraph of text.
6. Leave room in the schedule for people to just talk
My wife had planned quite a few icebreaker games, and I had to stop her from filling every free minute. Without that, there would have been no buffer for delays and no time for guests to simply chat and get to know each other.
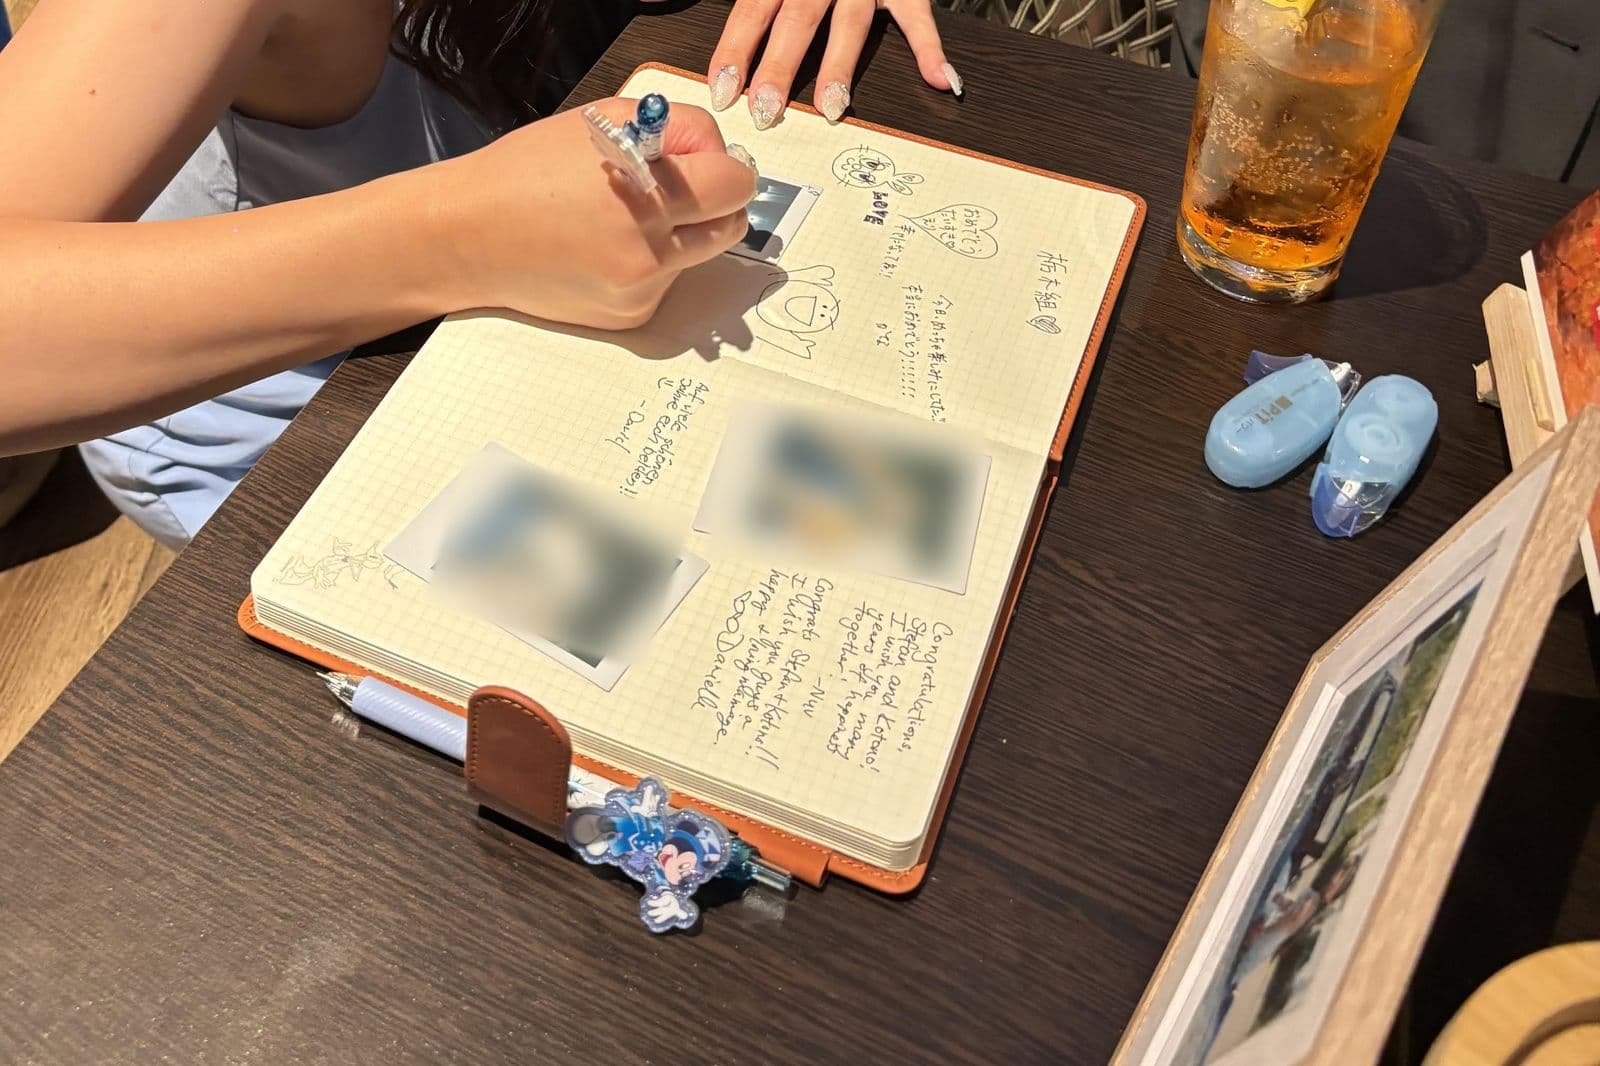
Even after we dropped some of the games, there was barely any time left for us to enjoy the party as much as I'd hoped. Thankfully there was an after party. When you write your timeline, plan the free time as carefully as the program, and expect everything to take longer than you think.
7. Find someone else to run the show
So we could enjoy the party, we asked a friend to DJ and to be our MC: announcing what's next on the schedule, getting the game groups ready, and reading out the results at the end.
That was the plan. We were already behind schedule, and somehow I ended up doing all the announcements myself. I can't recommend it, although I have to admit I kind of enjoyed it. If you do get an MC, give them the timeline in advance and make it clear that they're the one holding the microphone, so it doesn't drift back to you.
8. Let a friend lead the ceremony
The first 15 minutes of the party were a small ceremony. A friend of mine once got a license to officiate weddings so he could marry his brother. When he told me about it one day, I knew I wanted him for our wedding too.
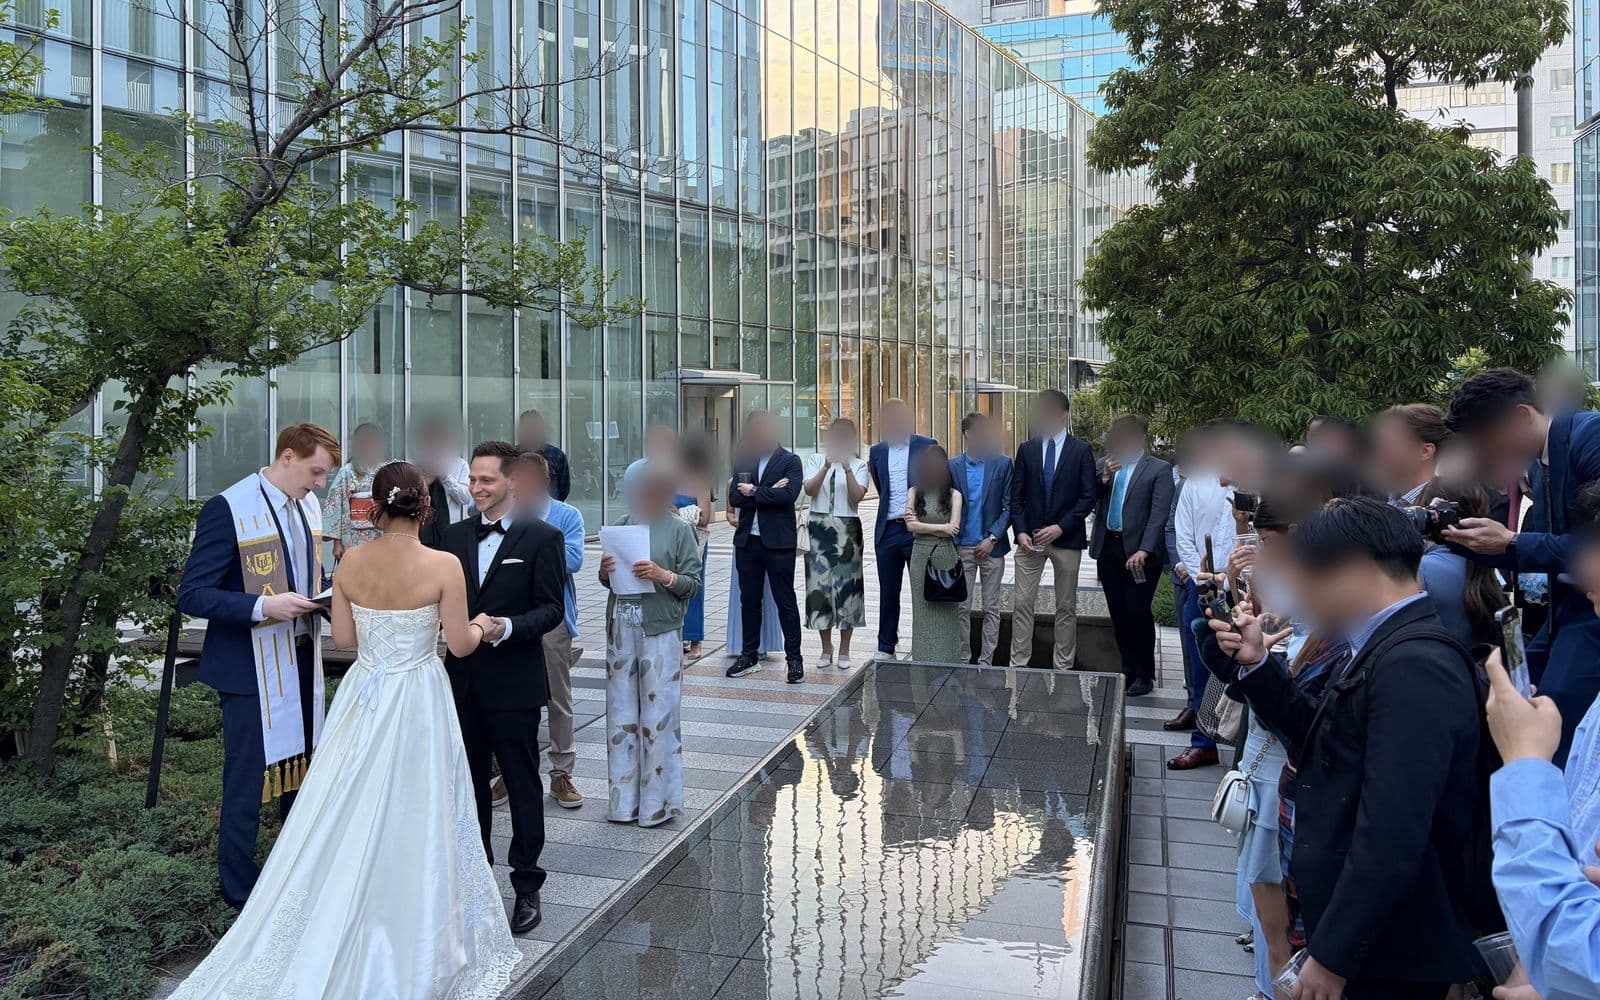
He did an amazing job. He led the whole ceremony in both English and Japanese, with all our guests gathered around us. We wanted the party to feel fun and relaxed, and a short, romantic ceremony with a bit of a wink was a great way to kick it off: nice, but not too serious. If you have a friend who'd enjoy the role, ask them. Having someone you know up front makes the moment a lot more personal.
9. Plan activities that get guests mixing
We had two big activities, and both turned out to be highlights of the evening.
The photo challenge
Every guest drew a random photo mission card at reception. Each card had a different challenge, and guests took the photo, scanned a QR code and uploaded it straight away. The photos went up live on the projector through a Weddy slideshow. (Yes, it's my own app. A wedding with 60 guests was a good real-world test.)
A few of the missions:
- Do the classic "Titanic arms wide open" pose with a friend.
- Get a group of friends and make a wave shape together.
- Take a photo of the table decoration.
- Take a selfie with the priest.
There was a little trick behind it. We wrote the missions so that, between them, our guests would photograph everything we wanted to remember: the decorations, the people and the moments that counted. Instead of hoping someone would think of it, we handed everyone a piece of the shot list.
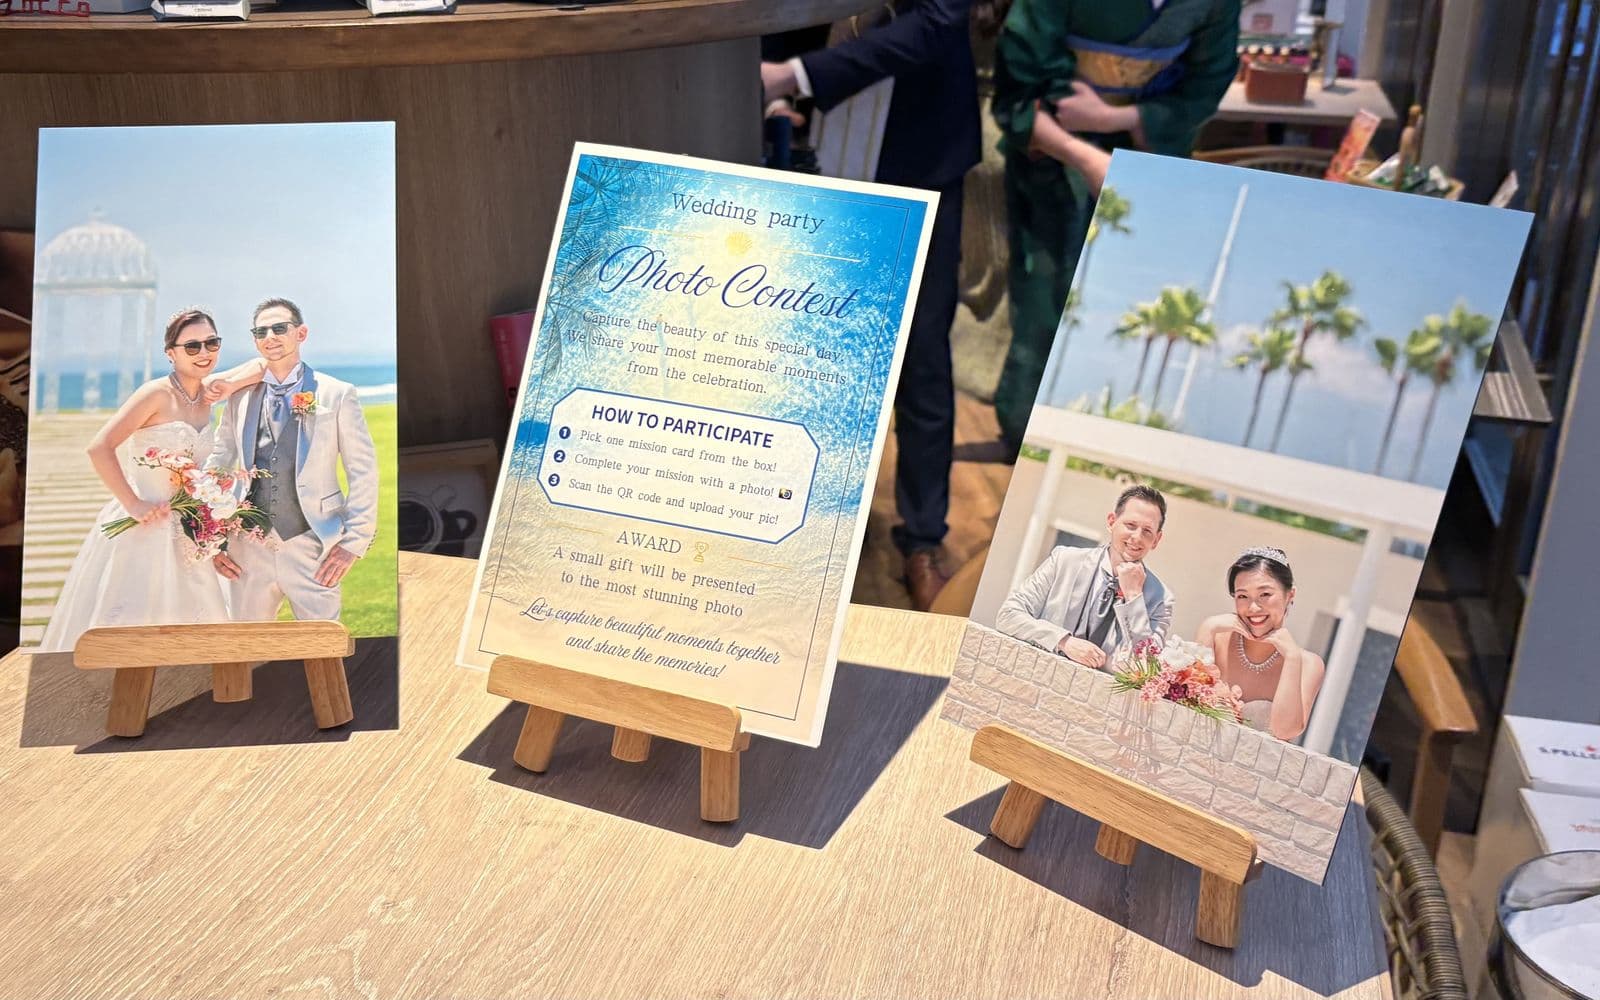
The key was making the upload effortless. Guests only had to scan the code with their phone camera, with no app to install and no account to create. If uploading takes more than a few taps, people give up, and then you never see their photos.
Near the end of the party, my wife and I quickly picked our two favorite photos and announced the winners. The awkward poses and funny interpretations of the missions got some of the biggest laughs of the night.
The cornhole tournament
We also ran a cornhole competition. A few days before the party, we split the guests into mixed teams, making sure everyone in a team could talk to each other or had someone to translate. Each team got a time slot to go outside and play, and another friend watched the games and kept track of every team's results.
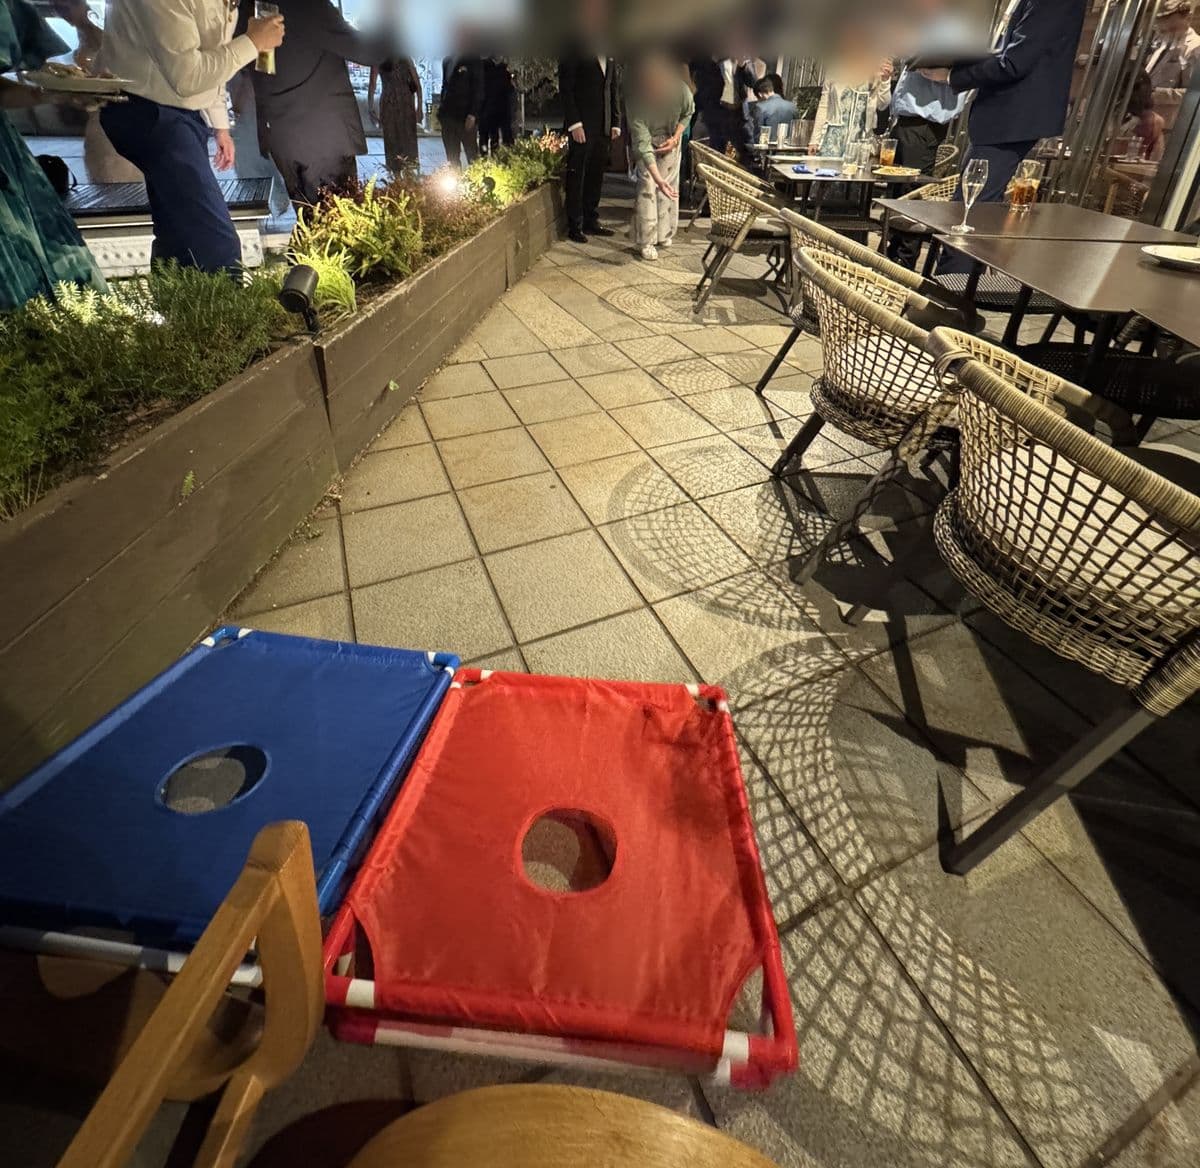
At the end of the party we announced the winning team and handed out presents. It was great fun for everyone.
10. Take the important photos first
This is the one I regret most. We had only 30 minutes to set up the venue. While we were still busy, guests were already arriving at reception, then the ceremony started, and the food came right after. We were so busy that we didn't take any photos, or even think about it. The only pictures I have from that part of the day are the ones I took with guests while greeting them.
What I'd do differently: plan extra time for photos with our families, and ask them to arrive earlier than everyone else. Once the party starts, there's no quiet moment to catch up on it later.
If I did it again
My short checklist for anyone planning their own party:
- Get the venue in writing early, and eat there before you sign.
- Ask for the full price, including every fee, and add a buffer.
- Check whether a per-guest fee could cover part of your base costs.
- Pick only the DIY projects you'll actually enjoy.
- Show your guests example outfits for the dress code.
- Leave real free time in the schedule.
- Hand the microphone to an MC, and let them keep it.
- Ask a friend to lead a short, light-hearted ceremony.
- Plan one or two activities that mix guests up, and make photo uploads as easy as scanning a code.
- Book time for family photos before the guests arrive.
Weddy helps with most of this: the budget, the guest list, the timeline, and the live photo slideshow your guests can upload to with a QR code. The app is free to download if you want to try it for your own wedding.
Ready to Plan Your Perfect Wedding?
Download Weddy today and get access to all the tools you need to plan your dream wedding stress-free.
Get Started for FreeRelated Articles

Modern Wedding Planning for 2027
Digital save-the-dates, RSVP websites, QR codes for guest photos and vendor share links: the tools worth using for a 2027 wedding.

10 Smart Ways to Save on Your Wedding Budget
Discover practical tips to create your dream wedding without breaking the bank. Learn where to splurge and where to save.
Planning the Perfect Wedding Timeline: A Complete Guide
Learn how to create a stress-free wedding timeline that keeps your special day running smoothly from start to finish.